Phil’s Lightweight Land Rover (Air‑Portable) site
aka — Truck Utility, General Service, 1/2 Ton, 4x4, Rover Series 3
How I fitted a 200TDi radiator in a LandRover Lightweight
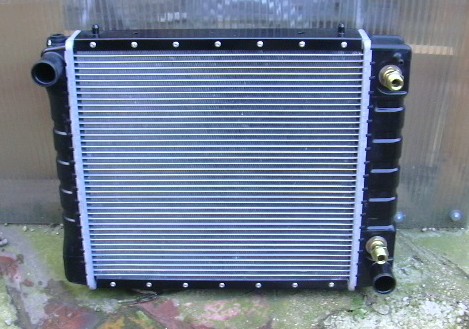
New 200TDi Radiator in place
Most of the small images will display full size if you Click on them use your browser 'back' button to return here.
The standard series Radiator only just copes with the heat from a V8 and the military oil cooler is not the best bit of kit, mine had already been removed to make room for an electric fan in front of the original radiator. The 200TDi engine uses a modern alluminium radiator with a built in oil cooler. You could use it with an engine other than a Rover V8 but if you have a turbo diesel and need an intercooler this guide will not solve all your instalation problems!
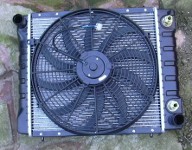
The new 200TDi Radiator, It's a cross-flow design, hot water enters top left and exits bottom right. The threaded connectors for the oil cooler are on the right side and the tube to the expansion tank connects near the top right hand corner.
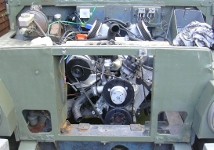
The first job was to remove the old radiator - I drained it using the plastic drain plug in the bottom, slackened of the hose clips and pulled off the top and bottom hoses and the tube to the overflow bottle (which is no longer needed), then I undid the nuts and bolts holding it in place down the sides and lifted it out. That may not be quite so straightforward if you have an engine driven fan and a cowling in place.
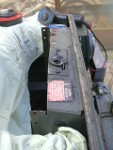
I used an angle grinder to slice the original radiator housing back by 45mm which allowed me to keep the bonnet fastener but make room for an electric fan between the engine and the radiator. The 1st picture shows just the top cut, then I cut both the sides back too. I used the angle grinder to tidy up the top of the crossmember and drilled a hole in the crossmember for the right hand mounting pin at the bottom of the new radiator, the other pin fell into the hole for a LHD steering relay.
Used some bits of steel to make a couple of top mounts to hold it steady.
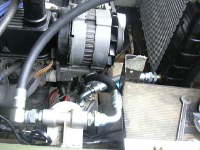
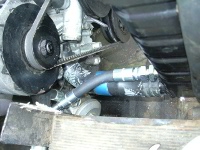
My V8 didn't have connections for an oil cooler but I had a remote oil filter kit which I connected up to send the return from the filter via the cooler, I had 3 hoses made up by Pirtek. They also supplied two new adapters to replace the ones Land Rover put on the oil cooler, which meant the hoses could have the same standard unions on all ends. The Radiator bottom hose just needed one right angle bend so it was not difficult to source.
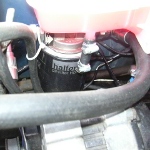
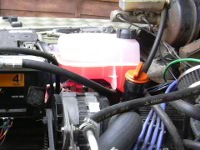
There's not a pressure cap on the new Radiator so you need to fit a remote expansion tank which has the pressure cap. It fits quite well with the remote oil filter beneath it.
I don't like the look of corrugated flexible hoses and wanted to avoid using them if at all possible. It took some trial and error but eventually I found a pair of top hoses that would fit without kinking. I joined them with the take off for the tube to the 'steam vent' in the carburettor mounting block.
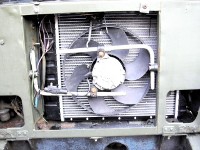
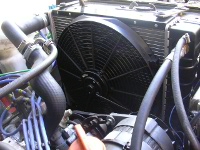
I first put the old Ford fan back in front of the new rad but it's so bulky that it restricts airflow when it's not running so I replaced it with a new 16" fan behind the radiator. There's plenty of room for it but I've had to mount it using those plastic through-the-rad mounting kits, I'm slightly concerned that they could wear through the alloy water tubes.
I pre primed the new oil filter and cooler circuit but it was still stressful waiting for the oil light to go out when I fired the engine up for the first time! It took me a while to purge all the air out of the cooling system too. I've used a Thermostatic Fan Controller that I got from X‑Eng in the bottom hose. A bit expensive but it has 2 outputs: the first switches the cooling fan on via a relay at 88°C; the second which comes on at 92°C, is intended for twin fan set-ups but I've wired it to a warning light on the dash to let me know if things are getting too hot.
Good luck, I hope this has helped.
Drop me an eMail with any questions or comments about this page. Phil
