Phil’s Lightweight Land Rover (Air‑Portable) site
aka — Truck Utility, General Service, 1/2 Ton, 4x4, Rover Series 3
Fitting external fuel fillers on a LandRover Lightweight
New left and right side fillers


Most of the small images will display full size if you Click on them use your browser 'back' button to return here.
On an ex‑military Land Rover having to remove the seat base and then move the metal cover plate before you get to the filler cap to refuel is, to say the least, inconvenient, and getting a passenger out to fill the second tank is even more so. As my intention is to make my Lightweight more user friendly, not restore it to full military spec, I decided to fit external fuel fillers. I started by geting together the parts I’d need, you can use many standard Land Rover components including the under‑seat fuel tanks from a civilian SWB series 2 or 3. A good 2nd hand genuine or a new aftermarket right hand under‑seat tank can be bought for £50.00, they’re handed because the filler tube is offset towards the outside of the vehicle. Left hand tanks (long range — expedition) were special equipment, you can only get them from Land Rover and they cost about £450.00, so I found a way to use right hand tanks on both sides (alternatively you could get a welder to modify a new right hand tank). The Lightweight tub has flat sides so the filler plate from the barrel sided series Land Rovers will not fit. The panel from the flat side at the back of a 109 or 110 is too tall for the available space, you could cut one of these down, modify the rubber one from a HCPU or get something fabricated from scratch as I did.
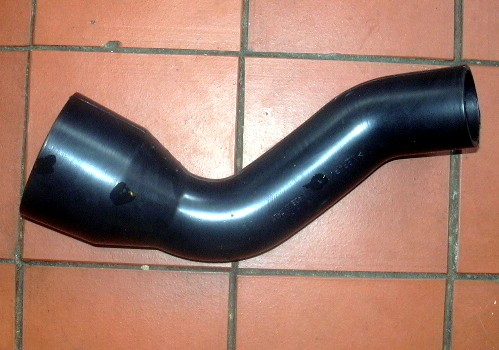
The guy I bought the Lightweight from had intended to make the same modification and he gave me one of the two stainless steel fabrications in the leftmost photo, I had a local sheet metal worker/welder copy it. The short straight metal tube is from a series 3 SWB, the longer metal tube with the bend is from a Range Rover, I had to shorten it to mate up with the tank on the left hand side. The rubber tubes in the same picture are non‑genuine series 3 SWB parts, one of them was so tight it split when I tried to force it on, so I replaced them both with the latest genuine Land Rover (PVC) ones from my local main dealer (Marshals), I had to cut one of them down to connect the shortened Range Rover filler tube to the tank on the left hand side.
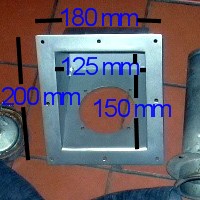
The dimensions on these images may help if you plan to make your own, with the exception of the hole for the filler tube most of them are not critical ± 1 or 2mm. The 125mm width is not arbitrary though, as any wider and it won't fit in the available space and much narrower you won't get your hand in to open the filler cap. The position of the holes for attaching the metal filler tube are best transfered from the actual tube. I used 4.8mm ‘pop’ rivets through 5mm holes to fix the panel to the tub side.
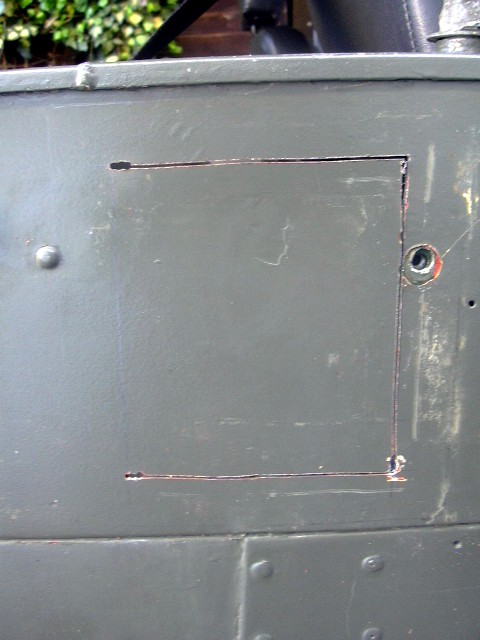
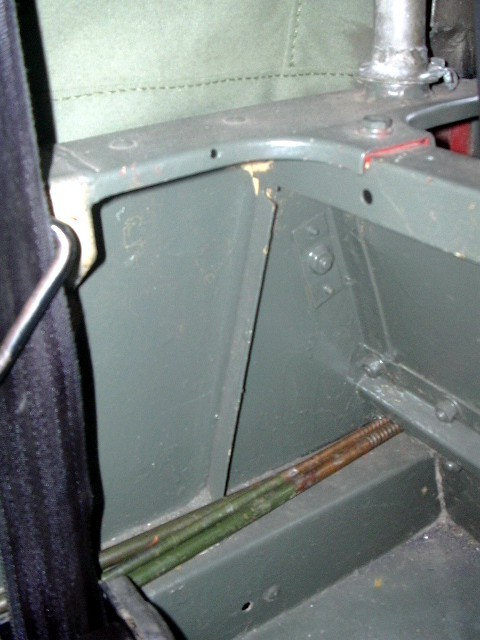
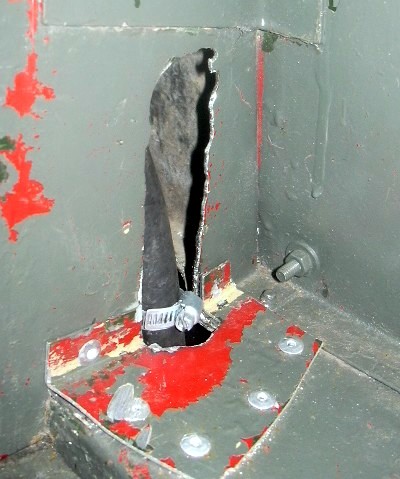
To make the apperture for the filler plate in the side of the tub I first drew the shape on the outside with a pencil and ruler and then drilled 3 small closely spaced holes at each corner, abusing the drill bit to run the holes into a slot so I could use an electric jig‑saw to cut along the lines. You don't really have much choice as to where to cut the hole, it needs to be flush with the end of the strengthening piece below the side capping and just below the folded over piece on the seat bulkhead. The triangular support for the seat bulkhead has a significant chunk cut out of it but the necessary strength is restored by the bolt and rivets through the filler plate. I used a cheap hole saw to make the opening in the wheel-box top for the filler tube to pass through.
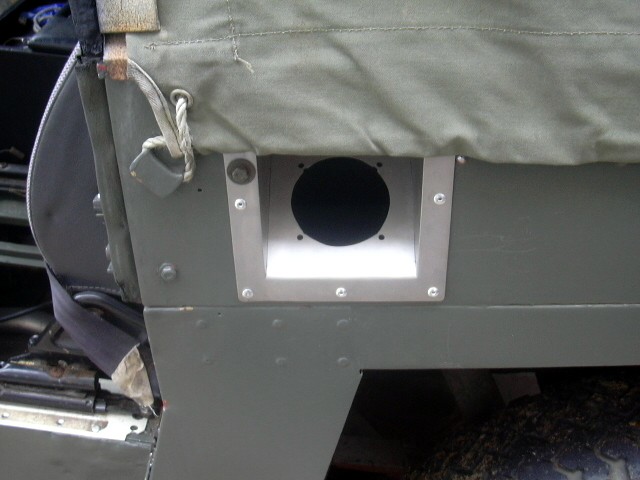
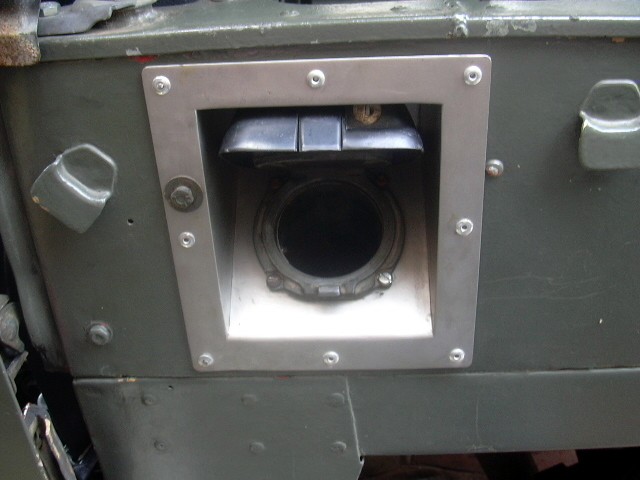
The fabricated filler panel seen in place from outside the left hand side of the tub. The Range Rover Filler cap fits nicely and looks good.
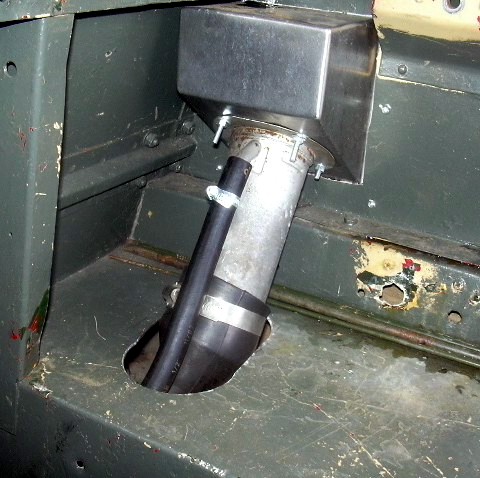
Inside the left hand side of the tub, before and after, I'd changed the front seat belt mounting before taking the final pictures.
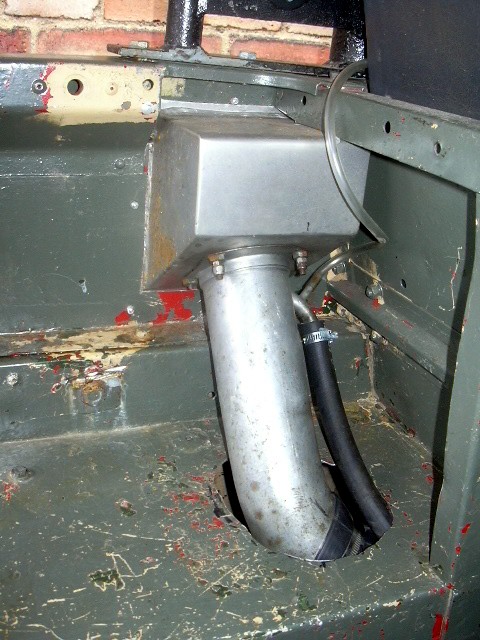
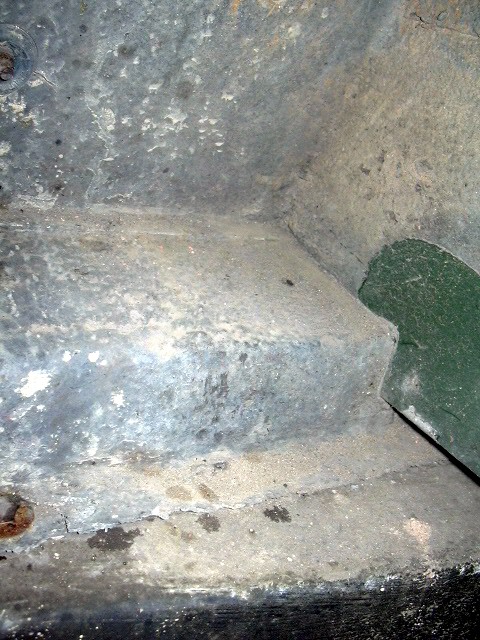
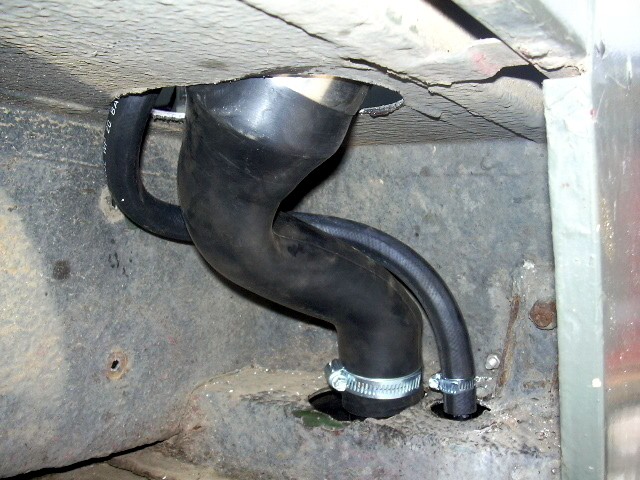
Looking up from under the seat box at where the filler tube needs to go through, one of the problems with using a right hand tank on the left side of the vehicle is that the vent tube comes up just where the inner wall of the wheel box sits.
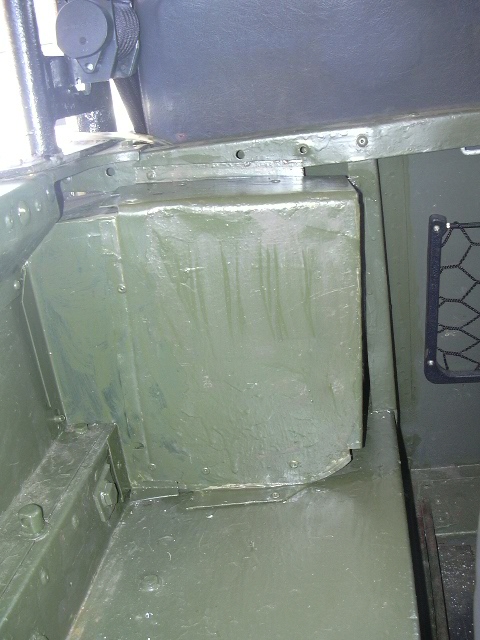
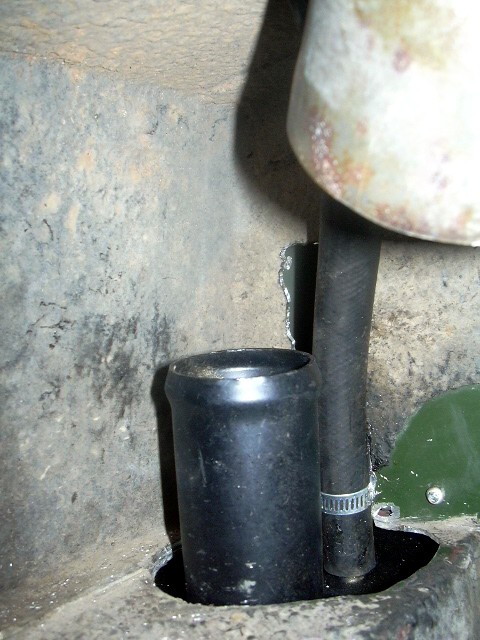
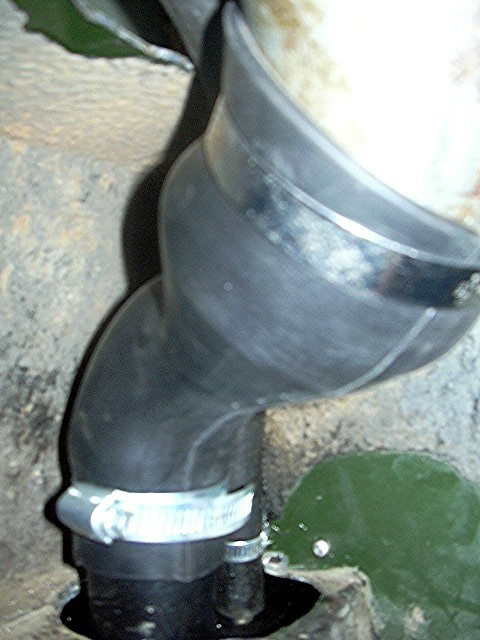
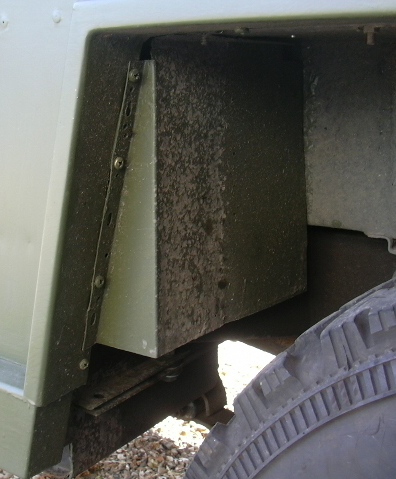
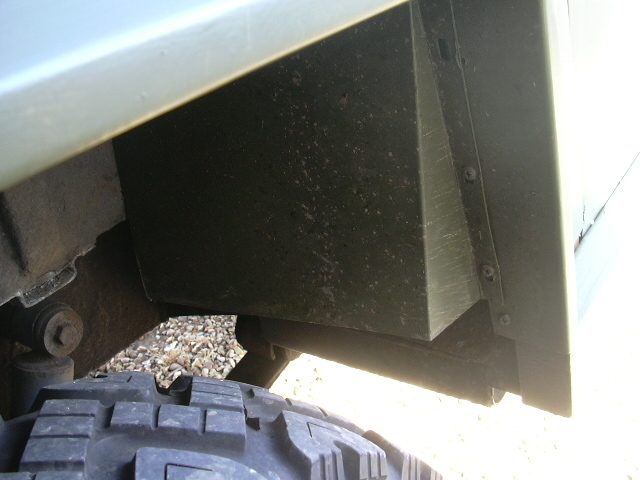
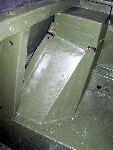
As seen from under the left wheel box, I used the hole‑saw again here. To conect it up (remember this is a right hand tank) I cut 3" off the end of a Range Rover metal filler tube and cut down a series 3 SWB PVC filler hose after the first bend at the narrow end — then it all lined up perfectly. I boxed it in with the wiring cover from the back of the right rear wheel box, which I’d taken off when I fitted a 2nd tool box.
Appart from the fabricated filler plate the right hand side used standard series 3 civilian SWB parts, it was much easier to connect up as nothing needed modifying and the end result with the new style PVC filler hose looks pretty neat. I roughly modified a series part to box in the right hand side filler tube.
Good luck, I hope this has helped.
Drop me an eMail with any questions or comments about this page. Phil

